Onboarding & Offboarding
Onboarding
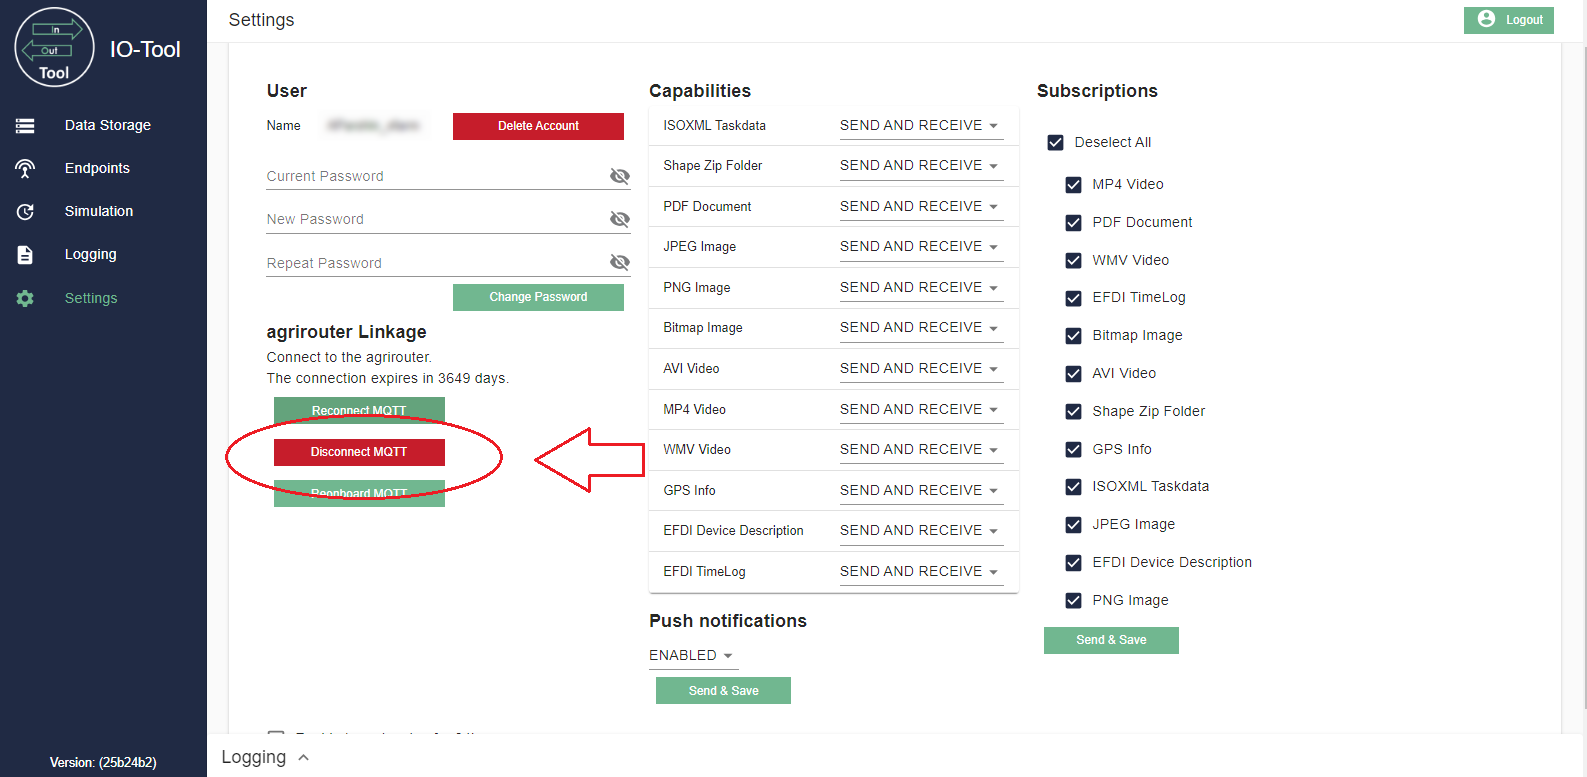
When the IO-Tool is not connected to any agrirouter account only three main sections of the menu are available the Settings section of the main menu looks as follows:
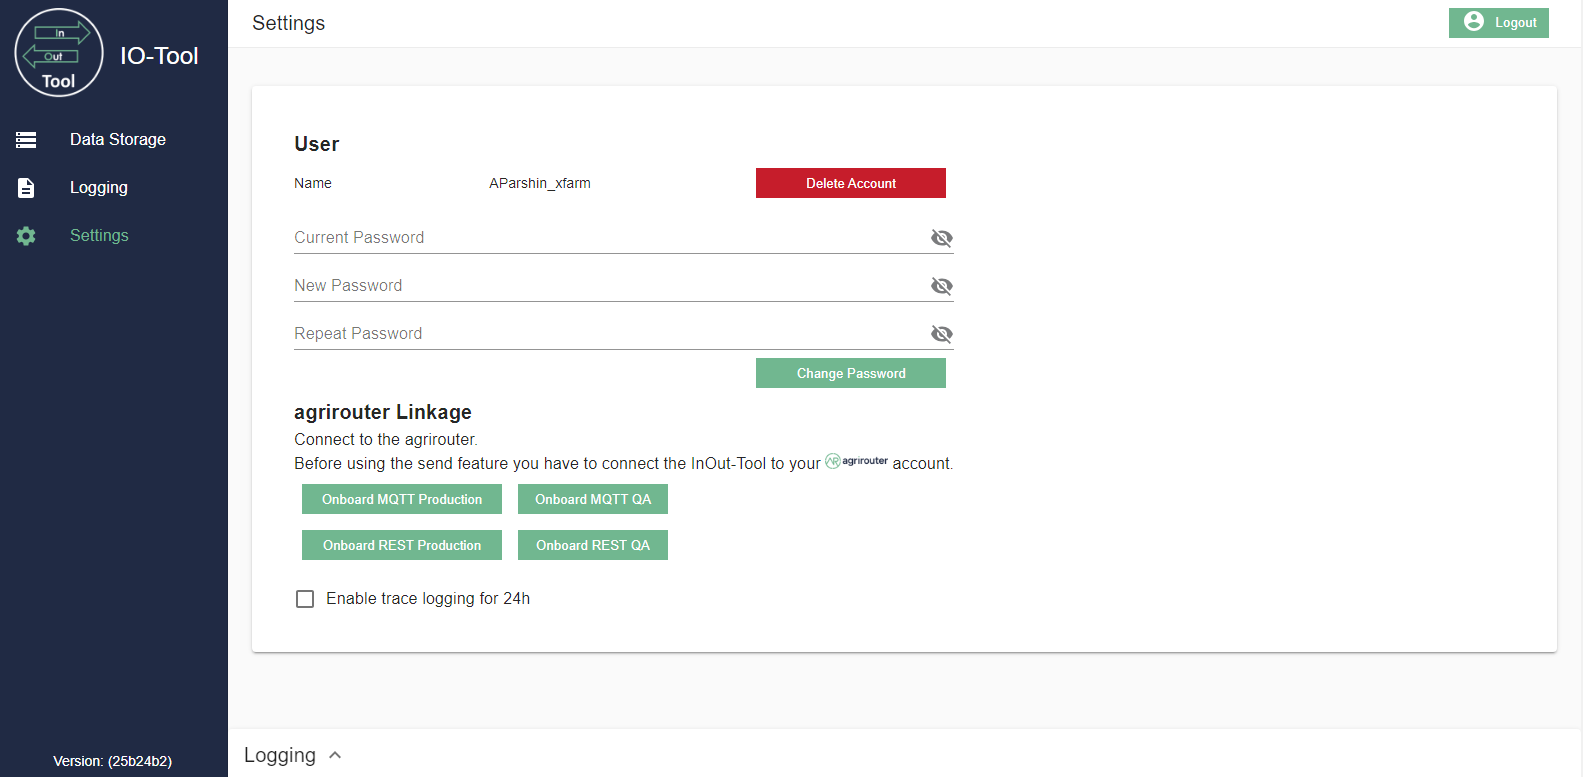
Selection of Environment
There are four options to choose from when establishing a connection with the Agrirouter.
-
Onboard MQTT Production
-
Onboard MQTT QA
-
Onboard REST Production
-
Onboard REST QA
Production refers to the eu10 Production Servers.
QA refers to the quality assurance of the agrirouter. The "QA" is not a marker for your application environment but for the agrirouter environment.
In most cases, Onboard MQTT Production should be your connection of choice.
QA vs. Prod
When deciding between QA (https://qa.my-agrirouter.com) or Production (https://goto.my-agrirouter.com), remember that to test your application, the environment of the IO-Tool must match the environment of the application.
Onboarding process
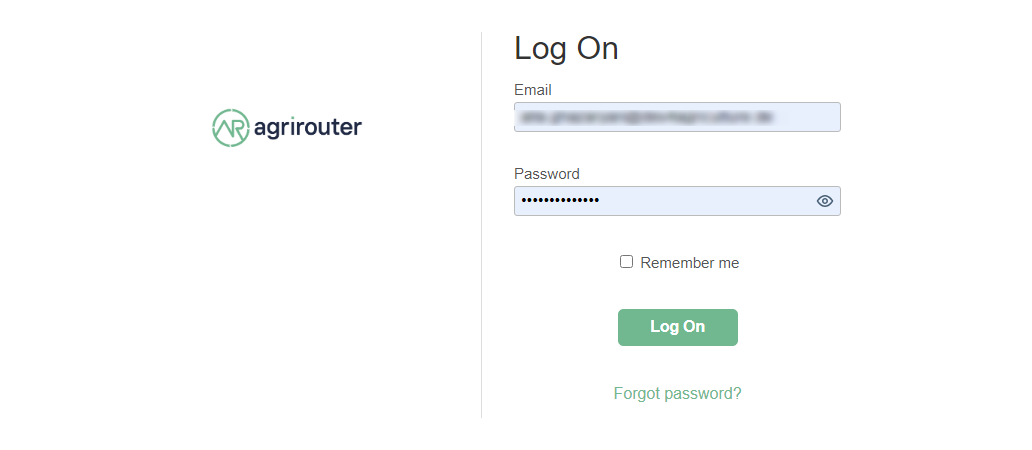
After clicking one of the buttons you will be taken to the agrirouter login screen where you will be asked to enter your login details. If you are already logged in to your agrirouter account (maybe in another tab), this step will be skipped and the login will be detected automatically.
Afterwards you will have to confirm the connection between agrirouter and your IO-Tool in this view:
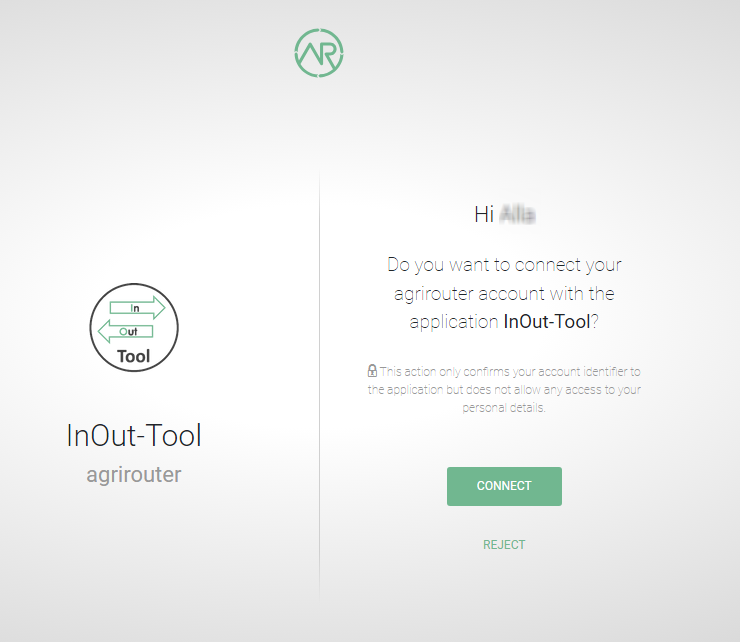
After clicking connect, please be patient as it may take a while to connect. The system is performing authentication, onboarding, sending capabilities and subscriptions in the background.
You will receive a confirmation in the logs, together with an info which further messages were sent to setup the endpoint.
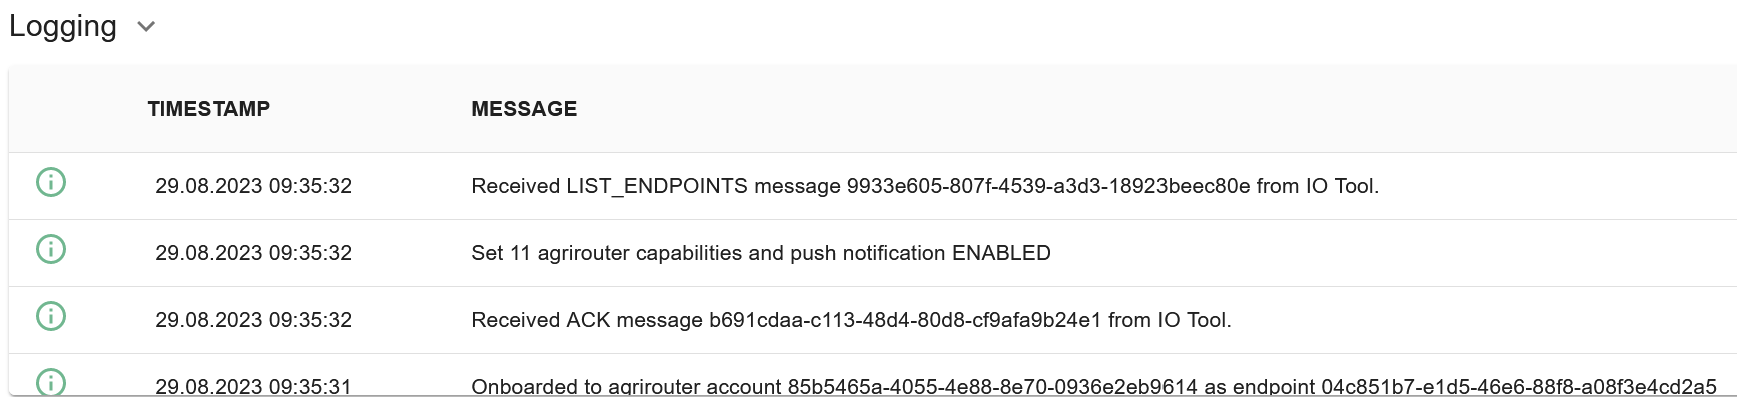
The IO-Tool will show 5 instead of 3 menu items and a new entry can be found in your agrirouter endpoint list:

In case of an error, review the TroubleShooting Page for help.
ReOnboarding and Reconnecting
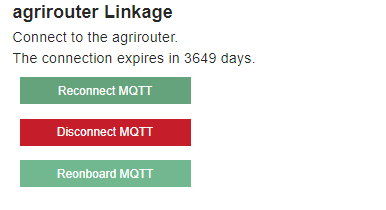
Once you have successfully connected, you will see three new buttons in the Settings section:
-
Reconnect MQTT
-
Disconnect MQTT
-
Reonboard MQTT
If, for example, you are trying to update your endpoints or send something and receive an error, you can use the Reconnect MQTT button as a first step in troubleshooting to reestablish the MQTT connection.
The Disconnect MQTT button is used for offboarding, which is explained below.
The Reonboard MQTT button helps to prevent the connection from expiring. The validity period of the connection is displayed in the same view.
Capabilities and Subscriptions
It is important that you set up your capabilities and subscriptions when you are first connected so that agrirouter knows, which data your application instance shall send and receive. These capabilities and subscriptions can be found in the Settings section after onboarding.
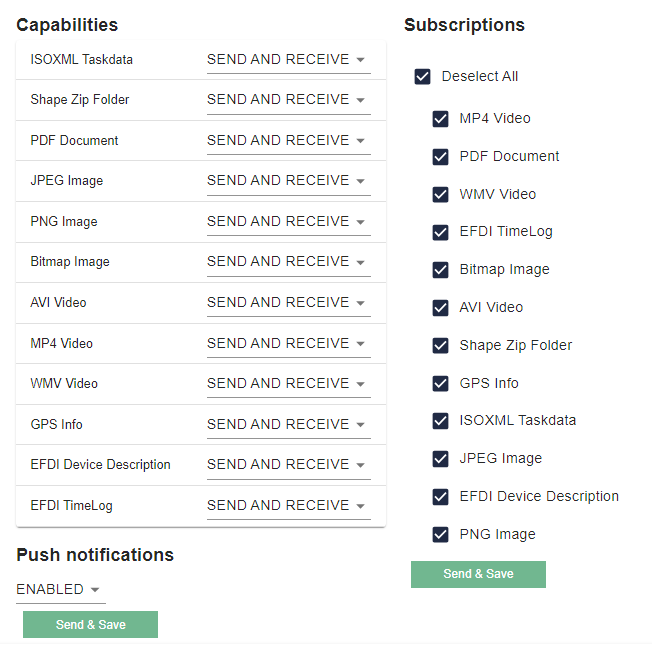
Under Capabilities you can select the message formats your IO-Tool should be able to send and/or receive. For each data format you can select whether the tool should be able to send it, receive it, both or none. image::io-tool/sendandreceive.png[]
Push Notifications
In the settings view you can also enable or disable Push Notifications (Enabled and Enabled (high frequency) are identical). Those speed up the communication and make the request for messages mostly irrelevant. This setting is transmitted with the Capabilities Message to agrirouter.

Under Subscriptions you can select the data formats you wish to receive when they are published by another endpoint. All data formats are selected by default and you can use the Deselect All button to start a new selection.
Please note that if you send Capabilities, you should also send the Subscriptions, as sending capabilities will clear the Subscriptions. |
This graphic explains the concept of Subscriptions and their publish-vs-address UseCase:

See PushNotifications for more information.
Offboarding
To disconnect from the agrirouter you need to click on the Disconnect MQTT or Disconnect REST button in the Settings section.
The action needs to be confirmed in the pop up window, where you are informed that the disconnecting also deletes the endpoint in the agrirouter control center.

|
Please note that after disconnecting from the agrirouter account you will need to wait for ca. 5 minutes to be able to connect again. |